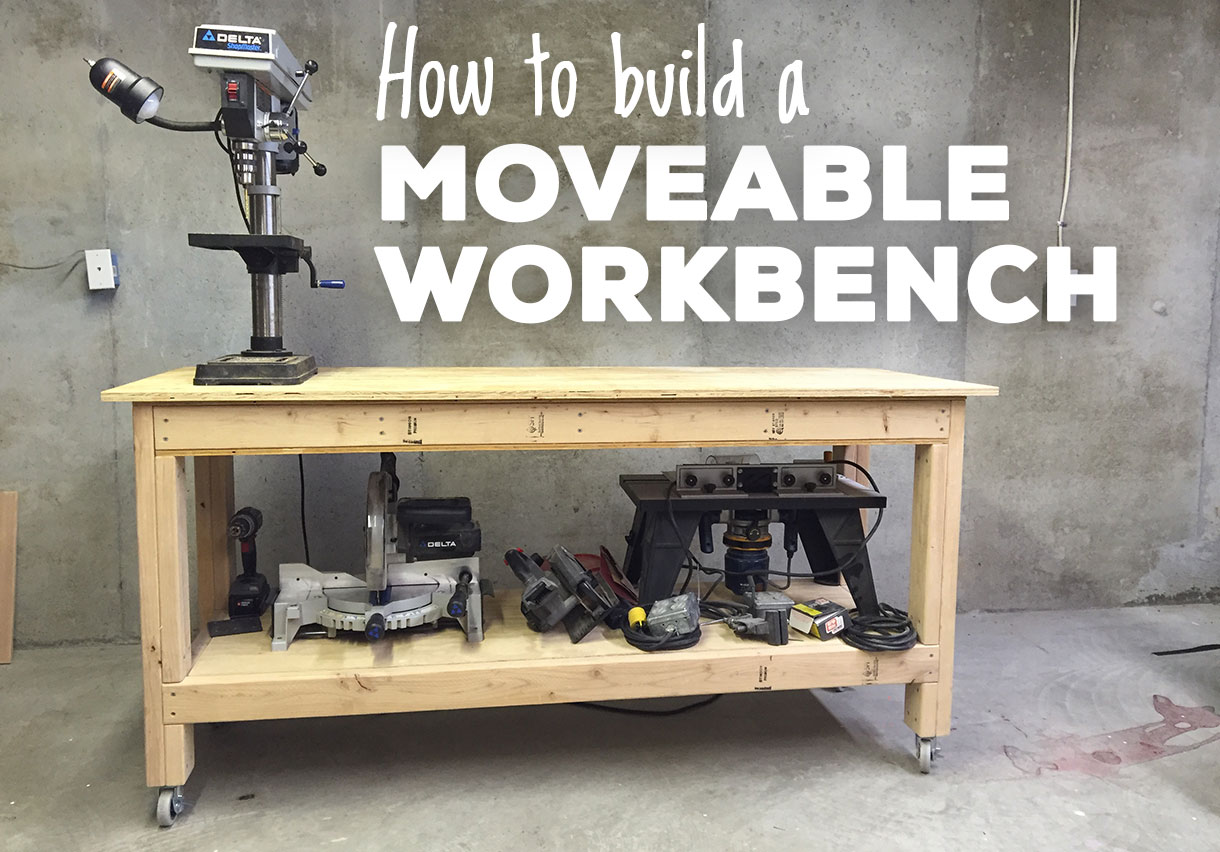
While working on my recent Farmhouse Bed Project, I realized that I really needed a solid workbench. I’ve been using an old door on a couple of saw horses, and that’s ok, but what would really be great is a large workbench that I could actually move around my “shop” as I’m building. So at the risk of all the problems that arise when I’m trying to multi-task, I took on the project of building a workbench in the middle of my bed project.

As with my other models, you can download a SketchUp version of this workbench here. I’d encourage you to do that you you can take the bench apart virtually and reconstruct it to your specifications. There are lots of ways you can modify this bench to work for you.
The inspiration for my design came from here and I’ve used probably 75% of this basic plan with my own tweaks.
Materials List
- (7) 8′ 2x4s
- (2) 3/4″ sheet of plywood (4′ x 8′)
- (1) 1/4″ sheet of plywood (4′ x 4′)
- (2) 8′ 1x2s
- 4 sets of drawer slides
- 4 drawer handles of your choice
- 4 medium to heavy duty casters (the casters in this plan measured 3 5/8″ high and the legs are measured accordingly so that the height of the bench is 35″)
- Wood glue
- 1 1/4″ wood screws
- 2 1/2″ wood screws
- 1 1/4″ brad nails (for nail gun)
Cut List

While I normally make drawers out of 1/2″ plywood, to save a little money on wood, this plan is using the 3/4″ plywood sheets to make the drawer boxes.
Frame
- (4) 29 7/8″ 2×4
- (4) 5″ 2x4s
- (4) 15 5/8″ 2x4s
- (5) 66″ 2x4s
- (2) 21 1/2″ 2x4s
- (2) 20″ 2x4s
- (3) 21 1/2″ x 3 1/2″ – 3/4″ plywood (for drawer box dividers)
- (2) 63″ 1x2s (for lower shelf cleats)
- (2) 18 1/2″ 1x2s (for lower shelf cleats)
Drawers
- (8) 20 1/2″ x 2 3/4″ – 3/4″ Plywood (drawer box)
- (8) 12 21/32″ x 2 3/4″ – 3/4″ plywood (drawer box)
- (4) 14 5/32″ x 20 1/2″ 1/4″ plywood (drawer bottom)
- (4) 15″ x 3 5/16″ – 3/4″ plywood (drawer faces)
Top & lower shelf
- (1) 73″ x 25″ 3/4″ Plywood panel (Top)
- (1) 69″ x 23″ 3/4″ Plywood panel (Sub top)
- (1) 66″ x 23″ 3/4″ Plywood panel (drawer box bottom)
- (1) 63″ x 20″ 3/4″ Plywood panel (bottom shelf)
Tools
- Chop/miter saw
- Carpenter’s square
- Chalk line
- Wood glue
- 1 1/4″ wood screws
- 2 1/2″ wood screws
- Nail gun and 1 1/4″ brad nails
- Kreg Jig & 1 1/4″ pocket hole screws for drawer assembly
- Sand paper & sander
My favorite part of this project was using the Kreg Jig to assemble the drawers. I’ve been wanting to try out a Kreg Jig for years, but I just haven’t had a project for which I could use it. Turns out it’s every bit as easy as it looks. I had my brand new Kreg Jig out and actually using it to assemble my drawers in less than 15 minutes. Note that it’s important to have a quick look at the instructions so you set the correct depth and don’t drill a hole into your jig (which, of course, I did)!

Here’s the plan
First step is to screw the 5″ 2×4 blocks to the bottom of the legs.


Next, build the box for the lower shelf by screwing the 2x4s together with 2 1/2″ wood screws.

Attach the 1x2s which form the supports for the bottom shelf with 1 1/4″ wood screws.


Attach the box for the bottom shelf to the 4 legs with 2 1/2″ wood screws. Make sure to use wood glue on all joints! Make sure all joints are square.


Attach the 2×4 inside leg posts with 2 1/2″ wood screws.

At this point, add the casters to the bottom of the legs.


Attach the 2×4 supports for the bottom of the drawer box with 2 1/2″ wood screws.

Drawer Box
Attach the 2×4 frame for the drawer box to the 3/4″ plywood bottom. Build the box before attaching the box to the legs.

Attach the 3/4″ plywood drawer dividers. I recommend using pocket holes. If you want to just screw the ends into the 2x4s, be sure to pre-drill your holes otherwise the 3/4″ plywood is likely to split.

Attach the drawer box to the base of the workbench.

Building the Drawers
Now it’s time to build the drawers. First build the drawer boxes attaching the sides with pocket holes.


Nail the 1/4″ plywood bottom to the drawer boxes with brad nails. Don’t forget to use wood glue as well. The drawer will sit on bottom mounted drawer slides which will also serve to support the drawer bottoms.

The drawer faces will attach to the front of the drawer boxes, but I recommend attaching these last after the drawers are mounted on the slides. Place the drawer faces into the frame against the drawer boxes and use shims to ensure even spacing around the frame. Then drill a hole into both the drawer face and drawer box to attach the drawer handle.

Mount the drawers using bottom mount drawer slides.


Attach the 3/4″ plywood “sub” top to the top of the legs. You can also use brad nails to attach the drawer dividers from the top. If you want to screw the top to the drawer dividers, be sure to drill pilot holes or else the dividers are likely to split.

Lastly, attach the top of the bench to the frame on the sides and back using countersunk 2 1/2″ wood screws. Lay in the bottom shelf.

And there you have your moveable workbench!

8 replies on “Building a Moveable Workbench”
Getting ready to build this. Can you verify the finished dimensions?
Sam
Sure thing. The finished workbench is 3′ tall (with the castors) x 26″ deep x 73″ long. The length & depth will really be determined by the plywood top. You can make vary to suit your space. This is also a pretty simple plan to modify if you need to change up the dimensions to fit your space. Good luck with your project and send some pictures when you get it done!
Cheers,
Ed
That’s perfect for the space I have. Will do pics.
Thanks
Hi – wondering if you have pictures of the bottom mount drawer slides? I exploded the SketchUp model too and can’t seem to find them. Looking to build this in the next week or two, thanks!
Hi Tim, thanks for the note. Here’s a link to some at Home Depot. Also on Amazon. Here’s a picture of one of the drawers.
In one picture you show a vertical 2×4 in the center supporting the drawers. Is this necessary? It looks like you removed it.
It’s not necessary. I used it as a temporary support while I was working out the plan. This is a great, solid bench and pretty easy to build. Let me know if you have any other questions.
Thanks!
Thanks. I made it a year ago without drawers for our laundry room. Now I want to build it for my workshop!